NURSERY MAKEOVER (Part 3) *DIY Shade Valance, Vintage Changing Table & New Decor*
Summary
TLDRIn this home renovation video, the host shares the progress of transforming a guest bedroom into a cozy nursery for their baby. They've updated the space with a space theme, including a DIY galaxy ceiling and moonlight decor. The host installs custom Roman Shades, addresses a minor design flaw with a creative solution, and repurposes a dresser as a changing table. They also discuss the kitchen renovation and consider various lighting options before deciding on a chic, French-inspired light. The video concludes with the nursery nearing completion, ready to welcome their baby boy.
Takeaways
- 🏠 The video is an update on a nursery renovation project in a guest bedroom turned baby's room.
- 👶 The host is in her 9th month of pregnancy and is preparing the nursery before the baby's arrival.
- 🛠️ A mini renovation was previously done, including removing old cabinetry and adding beadboard wall details.
- 🌌 A DIY galaxy-themed ceiling and moonlight fixture were added to create a space-themed nursery.
- 🛏️ Vintage-inspired furniture pieces like a crib and a rocker were introduced to the room.
- 💡 Custom Roman Shades were ordered to match the rest of the house's window treatments and to fit specific window sizes.
- 🔨 The host encountered a minor issue with the Roman Shades lacking a top finish and devised a solution using foam core and fabric.
- 💡 The search for a suitable light fixture led to repurposing an existing piece and spray painting parts of it to match the room's decor.
- 🧰 A dresser was repurposed as a changing table, and a cabinet from a flea market was chosen for additional storage.
- 🎨 The host considered various art and mirror options to finalize the nursery's design and decided on a mirror for safety and aesthetic reasons.
- 📅 The video also mentions an ongoing kitchen renovation and a vlog channel for more behind-the-scenes content.
Q & A
What is the main purpose of the video?
-The main purpose of the video is to showcase updates being made to a nursery in preparation for a baby's arrival, including the installation of custom Roman Shades and other decorative and functional elements.
What theme is the nursery being decorated with?
-The nursery is being decorated with a space theme, as indicated by the DIY Galaxy wall on the ceiling and the Moonlight statement piece.
What type of storage solution is the homeowner looking to add to the nursery?
-The homeowner is looking to add a changing table and storage in the form of a repurposed dresser and a cabinet found at the Roseb flea market.
How far along is the homeowner in her pregnancy?
-The homeowner is in her 9th month of pregnancy with just under 4 weeks until her due date.
What is the current status of the kitchen renovation mentioned in the video?
-The kitchen renovation is in progress, with the cabinetry being custom-built offsite and expected to be installed soon.
What issue did the homeowner encounter with the custom Roman Shades?
-The homeowner encountered an issue with the custom Roman Shades not having a way to finish out the top, leaving exposed plastic parts that she found unattractive.
What DIY solution did the homeowner come up with to address the issue with the Roman Shades and curtains?
-The homeowner decided to create a valance using fabric from the curtains to cover the exposed plastic parts and to match the curtains' design.
What is the proposed solution for the changing table in the nursery?
-The proposed solution is to repurpose a cabinet with beautiful hardware and a matching color found at the Roseb flea market as the changing table.
What type of light fixture is the homeowner considering for the nursery?
-The homeowner is considering a light fixture that was originally in Romeo's office, which has a French or feminine style, and she is considering modifying it by removing the crystals and possibly painting it.
What additional furniture or items does the homeowner plan to add to the nursery?
-The homeowner plans to add a side table, a lamp, and possibly a poof or footrest for comfort, as well as a mirror to complete the nursery setup.
Outlines
🛠️ Nursery Renovation Update
The video begins with the host welcoming viewers back to their channel and providing an update on the ongoing nursery renovation. They recount a previous mini-renovation that transformed a storage space into a space with a space theme for their baby, complete with a galaxy ceiling and moonlight fixture. The host is in their 9th month of pregnancy and is eager to finish the updates before the baby's arrival. The current focus is on installing custom Roman Shades for the windows, which took 5-6 weeks to arrive. The shades are blackout to provide a dark environment for the baby and are made from the same fabric used in other parts of the house for a cohesive look. However, the host notes a minor issue with the shades' unfinished top and plans to find a solution for it.
🏠 Hanging Roman Shades and Window Solutions
The host proceeds to hang the Roman Shades, encountering a challenge with the windows' unique shape that requires a creative solution. They decide to screw the shades directly into the ceiling to avoid obstructions. After hanging the shades, the host is not entirely satisfied with the look, particularly the exposed plastic parts, and considers various options to improve the appearance. They contemplate using wood or painting to create a more cohesive look. The host also discusses the darkness level provided by the blackout shades and plans to address the unfinished look with a custom solution.
💡 Selecting and Modifying the Right Light Fixture
The host expresses difficulty in finding the perfect light fixture for the nursery and considers reusing two existing options from other parts of their home. After trying both and discussing their pros and cons, they decide to modify one of the fixtures, which was originally from Romeo's office, to better fit the nursery's style. They remove the crystals to give it a more neutral look and spray paint the chain to match the fixture. The host's goal is to extend the wires and hang the light in a way that complements the room's design without being too overwhelming.
🎨 Creating a DIY Valance for Aesthetic Consistency
The host is bothered by the unfinished look of the curtains and Roman Shades, particularly the white infusing at the top that doesn't match the rest of the fabric. To solve this, they decide to create a DIY valance using fabric from the living room curtains to maintain a consistent look throughout the house. They cut a piece of fabric and attach it to a foam core board to create a lightweight valance that can easily be secured in place. The host also discusses attaching the valance using adhesive or 3M Velcro to ensure it stays in place.
📺 Repurposing Furniture for Nursery Storage and Function
The host discusses the need for a changing table and storage in the nursery. They had a dresser from their primary bedroom that they wanted to repurpose but found it too large for the space. Instead, they found a beautiful cabinet at a flea market that matched the home's color scheme and could serve as a changing table. The host explains how the cabinet fits well in the space, between two doors, and is conveniently close to the crib. They also mention plans to add a mirror, storage containers, and a small side table for added functionality and aesthetic appeal.
👶 Final Touches to Complete the Nursery
In the final paragraph, the host talks about the remaining elements needed to complete the nursery. They consider adding a table for setting things down and a mirror for the baby to see his reflection, which they believe would be cute. They decide on a mirror that fits the room's aesthetic and discuss using a vintage plant stand as a side table. The host also mentions other items that will eventually be brought up to the nursery, such as a baby camera and a shusher. They express excitement about the upcoming kitchen renovation and invite viewers to follow along on their Vlog channel for more behind-the-scenes content.
Mindmap
Keywords
💡Nursery
💡Renovation
💡Beadboard
💡DIY Galaxy Wall
💡Moonlight
💡Custom Roman Shades
💡Blackout Option
💡Valance
💡Changing Table
💡Repurposing Furniture
💡Cohesive Home Design
Highlights
The channel is updating their nursery in anticipation of a baby's arrival.
A mini renovation was previously done, transforming a storage space into a baby's room.
Cabinetry was removed and beadboard was added to the walls for a wainscoting effect.
A DIY galaxy wall and moonlight feature were installed to create a space-themed nursery.
Vintage-inspired crib and a rocker were added to complement the room's textures and patterns.
Custom Roman Shades were ordered to ensure a cohesive window treatment throughout the house.
The Roman Shades were blackout to provide a dark environment for the baby when needed.
A solution was devised to cover the unfinished top of the Roman Shades for a polished look.
The host is in her 9th month of pregnancy with less than 4 weeks until the due date.
The kitchen renovation is ongoing, with custom cabinetry being built offsite.
A light fixture was repurposed from Romeo's office to fit the nursery's aesthetic.
The light fixture was modified by removing crystals and spray painting the chain for a cohesive look.
A dresser was repurposed as a changing table to add storage and functionality to the nursery.
A vintage plant stand was used as a side table to hold items like a bottle or a drink.
A mirror was chosen to add a decorative element and for the baby to see his reflection.
The nursery is now complete with all necessary items and a comfortable space for the baby.
The host plans to share more updates on the kitchen renovation in upcoming episodes.
Transcripts
[Music]
hello guys welcome back to my channel
and welcome back to our Nursery we're
going to be doing some updates in here
today cuz I've been waiting on some
things to come in if you guys remember
like a few months ago we actually
tackled kind of a mini renovation of
this area off to the side of our guest
bedroom I think it was kind of like a
seating area that they had not used as a
seating area anymore but they had
actually put some like storage wardrobe
for more wardrobe cuz there our closets
upstairs are quite small but this area
was just a storage space for us so we
felt like it was the first step in
turning this entire room eventually into
the baby's room and we did a lot we took
out all the Cabinetry we added the
beadboard to the wall as like a wains
cotting like wall detail which really
added more interest to the space we
painted obviously we did this DIY Galaxy
wall on the ceiling cuz we wanted to go
with a space theme for the baby and we
added the Moonlight which I love which
is just like such a like a statement
piece in here and brought in some
furniture our crib that has a vintage
Vibe and the rocker which I love which I
wanted to play with a lot of textures
and patterns in the space and I think it
came together really well but we were
still waiting on some custom things to
come in so we're going to do a lot of
updates in this little space as we
prepare for the baby to arrive I am
officially in my 9th month of pregnancy
we have just under 4 weeks until his due
date baby and I are doing very very well
and I figured we should do these updates
now before he comes and also so while we
are very much still in the process of
renovating our kitchen we are actually
in the time where they're building all
of our Cabinetry which is incredibly
custom and specific and needs a lot of
detail work so they're working on those
offsite and then they're just going to
bring all of our cabinets into the
kitchen and install they're coming along
beautifully and they should be
installing them any day now which is
really exciting so if you missed any of
the series of the kitchen renovation
I'll leave it linked for you have a
whole playlist you can get caught up
before the next episode airs in Sundays
I'll also leave our Nursery makeover
video linked as well that was the first
part of this so where we last left off I
measured for custom Roman Shades which
we had to have made which took about 5
to 6 weeks to come in which we're going
to install today I really hope they fit
fingers crossed I hope that they look
good cuz it took a long time to get here
these windows are so specific in their
sizing that I couldn't find anything
that was already pre-made that I could
just order for these windows
specifically the back ones the back ones
are so narrow and when I thought about
the house as a whole I'd like our window
treatments to be cohesive so that it
feels like you know the whole house has
the same kind of like Vibe and theme and
I ordered them from the same company
that I ordered the ones downstairs in
our formal living room from which is two
pages online and I have a link for you
guys if you're interested in their
products at all in a little bit of a
discount that I'll leave in the
description box for you so this is my
first experience with their Roman Shades
I really like the fabric um because the
fabric is the same that we used
downstairs and really went with the
coloring just neutral really went with
the coloring of the room and has the
pull down I like the mechanism a lot and
we did blackout so that we can really
darken this space if we need to for the
baby I have a little hook here
and they pull down and they're so nice
there is one downfall to these that I
kind of knew going into it that would be
a downfall which is there's nothing to
finish out the top of the Roman Shades I
think this makes most sense if you're
able to put your Roman Shades inside the
window um but ours weren't deep enough
you need like 2 to 2 and 1/2 in on the
inside of your window to put Roman
Shades inside otherwise they have to go
outside of the window I wish that they
offered kind of like a valance a little
cover you know that's made out of the
same fabric that you can put around so
you don't see that so we're going to
have to do a remedy for that for sure
but we'll see what they look like these
curtain didn't come with any
instructions on how to put them up but
they come with all the tools to do it so
it's it it's fairly straightforward
there's like little Clips so that's
obvious there Clips on here
like that and then there's the brackets
as well our windows are a little bit
weird I think I'm going to hang the side
ones differently than the back because
we have this like box that comes out
here which is kind of stopping me from
using the bracket so I think I'm just
going to screw these
into the ceiling right here it's going
to be perfect cuz this is solid
[Music]
should
just Yay see I don't like seeing those
things I could paint them
blue like the same color as the wall and
they would
disappear or try
and this
cuz it just m those
[Music]
on I covered it too let's see the sides
that does not look custom to me you know
what I mean like that does not look good
like we just need a little piece comes
like that and goes back to cover the
same like WID of that plastic piece we
need to build it ideally it would be
made out of the same fabricc but they
don't offer the fabric itself like to
just to get some of this so you can't
use a different fabric we could do
something out of wood and stain it or
paint it let's put them all up and then
we'll find a a solution for it cuz I
don't like that at all
[Music]
[Applause]
[Music]
[Music]
okay
[Music]
oh
[Music]
okay so this is with them all the way up
let's see how dark they get even with
the space on the side U with the
blackout
option not too bad I mean it's it's
pretty dark I mean I think it's dark
enough in here but you can still see you
see around the window cuz that space
I'll of course want to keep them all at
the
same same level whether they're not down
okay the next thing I really want to add
is a light I've been looking for a light
for this space for a while and I cannot
find what I like this was my original
inspiration for what I
wanted and I needed it on the shorter
side cuz you know this this ceiling kind
of slopes back and I've looked at flea
markets estate sales I've looked online
I can't find anything quite like this in
the right size that I need so we have
two options for lights that I already
had I have two that I took out of the
kitchen when we started doing the
renovation we were going to reuse them
in the kitchen but they're too small so
we have that as an option and I tried it
up here when we decided not to use them
in the kitchen and I didn't love it it
it didn't fit it wasn't what I really
wanted it felt too dining room like or
we have this one this one we took out of
Romeo's office definitely more more
French maybe more feminine if we took
the crystals off it might help with the
feminine look it might dull it down a
little bit and we could paint it or
something I don't know let's let's see
what this looks like it hang right about
here is it
too I just don't know obviously Romeo
didn't like it for his office we made it
more like industrial masculine in there
I honestly feel like the lighter color
this like off-white color looks kind of
good with the lighter Furniture like I
was thinking maybe painting it like a a
brassy like an antique brass color like
this but honestly because the ceilings
are so dark it is not bad okay let's see
what it looks like with the crystals off
this was actually a fixture that was
already in the house when we bought it
it was already in that room in the other
room in there and there's a Crystal
Light in this room already in the guest
bedroom part so it kind of like ties the
two spaces together what do we think
now I don't know I'm kind of into
it I I kind of really like it I am glad
that when I took the light down in the
other room it had extra wire like this
because I'm going to need it cuz I kind
of have to swag it over so I think I
have some chain outside and hopefully
some spray paint that matches this one
so I have this chain in my stash that
matches the gauge kind of like the
sizing of the chain that was already on
the light and I have this almond gloss
spray paint which I feel like even
though it's glossy this is going to be
like a really comparable color and might
be even went exact so I'm going to put
on a big safety mask and spray paint the
chain so that we can kind of extend the
wires and make it look more
polished the color is so similar to the
light so we definitely nailed it I
already had the supplies so now we need
to take all this off so that we can
weave the chain onto
[Music]
it just kind of weaving through every
other link
so glad that this light had more wire so
now we can kind of you know Swag It kind
of back like that Romeo's here he's
going to put it all together so that we
can kind of put like a hook or something
a little further back so that I can hang
it right in the exact place that I
wanted obviously we don't want it to
hang it too low because we want to be
able to walk freely underneath it and
stuff but taking off the crystals I
think help a lot do you like it better
without the crystals a little bit
better okay so let's try
yeah see but see this is where it would
hang if it was just from the fixture
where the hard wire is so I want it to
swag
[Music]
back right there
[Music]
like yeah it gives a lot more light this
is the per this was the perfect size
light and I know it's more fr
that kind of makes it tie into our house
maybe a little bit yeah I don't mind it
I like it but I like this and we're
reusing it too so we're it free yeah for
my it was for so these are the curtains
that are the same as the Roman Shades we
just did in the nursery but they're the
ones in our living room and obviously
they're tall long panels right like tall
long panels well something that's always
bothered me about these as well is that
when it turns back at the top it doesn't
quite cut cover the maybe like the the
the infusing that they put at the top to
make it stronger so that it holds on the
hooks and it's white Pure White and you
can really see them but if they would
have just continued the fabric a little
more it would have closed it off what if
I solv this problem and the problem with
the Roman Shades
upstairs by cutting a piece off bringing
it back to here and reeming it so I it
would look the same same as this thank
gosh I went to Fashion school so I know
how to him it would look exactly the
same but it would cover that white spot
and I would have the fabric to use for
the veilance on the Roman Shades okay
well now we got to cut my C
[Music]
[Music]
okay so I got my fabric piece and I've
kind of measured and I think that this
is going to be plenty but if not I can
do the same thing to the other panel cuz
we can fix that one too but this is
enough I'll kind of stop here and I
don't want this to be super heavy of a
valance I just want to be able to put it
up there with ease and have it like kind
of like secured up there with ease so
I'm just going to use foam core so I got
this like presentation board you can get
foam cord really anywhere we're just
going to cut it to the exact size that
we need I'm only going to make it about
3 in and I need two at 22 in wide and
two at 40
[Music]
in okay so I got are pieces all cut and
then there's little pieces on the end
the wings I'm calling them to kind of go
back to the wall so the valance will
look like that when it's all on so I'm
just going to lay it down onto my Fabric
and actually use this adhesive I picked
this up at Joann's it's an odive 303
high performance permanent adhesive says
it's for wood metal fabric leather
acrylic paper cardboard felt and more
just like a crafting uh adhesive and see
if we need anything stronger than that
like I don't know maybe hot glue or
something like that
[Music]
[Music]
I did it I hope they
fit I measured like three times
outside
sides inside ain't too pretty I mean you
have to kind of wrap the fabric if you
want to make the inside of something
look really good I could have come back
with like another piece of fabric
I don't think we need to do that it's on
the inside so okay let's
see
oh covering that looks good I mean so
much better I really seeing the plastic
parts was really aggravating me and it
matches same
fabric and it covers the sides so oh we
did it we made a balance it wasn't that
hard um and it's super lightweight so
now we just need to figure out the best
way to attach it I'm thinking I could
glue it to the plastic part on the sides
Like Glue the two sides or I could put
some like 3M velcro I don't have very
many so I think I'm going to cut them
into smaller sizes
[Music]
that looks so
[Music]
good so another thing that the nursery
is missing is a changing table and
storage of some kind there's absolutely
no storage in this part of course that
we have the closet and the closet would
be all his for life
Overstock of like diapers and his
clothes and things like that but we need
a surface and a changing table so I had
this dresser that used to be in our
primary bedroom that I desperately
wanted to use and repurpose into the
space it was just too big and I found
the most beautiful cabinet from the
roseb flea market it has the same
coloring as the one that we have
downstairs in the entryway so it's
further tying like our home together I
try and incorporate elements like that
as much as I can so that the whole house
feels really cohesive I fell in love
with this little cabinet and the
hardware is beautiful the color of it is
beautiful pretty much the perfect size
for the space so when we brought it home
we actually tried it in this space right
here and where it does fit it does fit
with ways and it's fine it felt so
cramped like it was just kind of like
there's so many pieces in here um so
instead we're thinking it fits better
over here here between the two doors so
this is where you go out to the house
this is the door to the closet so it's
in the same space and literally from
changing table to crib is 1 2 3 four
steps that's that's the distance so it's
still in the same space it's just in the
part of the guest bedroom that isn't
painted or really designed all way so it
looks a little disjointed we'll get to
that eventually but I felt like it was
going to be perfect here and I love it
it's the perf it fits perfectly here
here we could hang a piece of art here
and then stock the drawers and
underneath with all of the changing
table things I have these little storage
containers that we could use to kind of
keep keep everything organized
[Music]
[Music]
and we can attach this on top I can get
like a one of the covers for it but I
feel like we'll use it so much more if
we can just clean it easily and then we
can secure it to the top of the cabinet
I would love to put like little shelves
but I wouldn't want to put anything
above him so that doesn't make sense
could put a piece of art that I could
secure to the wall few options I have
actually two of these they're mates I
could hang one and one but I feel like
it's too much it's like too close the
frames stick out a little bit I'm
obviously not going to have anything
space themed I don't have any space
themed art but I was trying to find ones
in my stash that were more like blue
green I actually love the idea of a
mirror here a mirror in this room he can
see his reflection you know kind of like
I feel like that would be cute I have
this I have this one that doesn't have a
home I had this in our dining room I
love this mirror it has like the darker
wood which picks up the darker wood in
the ladder from the nursery let me just
put it on this nail so we can see what
it looks like it won't be where it needs
to go but we can see
it I really like the mirror I also have
this one that my mom painted that is
more blue like icy you know may go with
the theme of the nursery a little bit
better it's a little smaller get Romeo's
opinion and then we'll we'll put up what
he what we decide okay we've both
decided on the mirror we think it's like
kind of nice to have a mirror in here
going to hang it with a nail for now and
get some 3M strip tape and like stick it
to the wall so it like never moves and
it's super safe over this I love that
mirror so much a few more things that
we'd like to add in here is some kind of
table over here so that we could set
things down like you know the bottle or
something for us to drink while we're
rocking him or in up here um um and I
had this little I think it's a actually
probably a vintage plant stand it's just
a small little side table I thought it
was like the perfect height to go here
and then we can put like a little lamp
you know so that we don't have all these
lights on all the time I saw this one at
Ikea and I thought it was really nice it
had like a little bit of a vintage
traditional kind of look to it had like
a pleated shade
[Music]
[Music]
[Music]
oh so besides maybe like a poof or a
little autum
you know kind of in the center for our
feet when we're up here the nursery is
complete we are ready for baby boy
stocked it's got everything that it's
that it needs some of the things that
will eventually be in here are actually
downstairs like our baby camera like the
shusher and things so cuz we have a
bedside bassinet for a little bit after
the baby is born so that stuff will
migrate up here obviously um when he's
up here a little bit more often so I
hope hope you guys enjoyed this update
video definitely a huge Improvement
diying the balances for the Roman Shades
it makes it looks so much more polish so
if you're going to get the Roman Shades
and you have to do them on the outside
of your windows do that I'm really
excited to see what they can accomplish
in the next two weeks on the kitchen so
that you guys can see another episode in
two Sundays and of course I have my Vlog
channel for more behind the scenes of
things that we've been buying for the
kitchen you guys can come shopping with
me over there on my Vlog Channel and I
will see you guys really soon for
another video bye guys
[Music]
[Music]
5.0 / 5 (0 votes)


EXTREME KITCHEN RENOVATION EP 4 | Custom French Doors & Restoring 90-Year-Old Windows
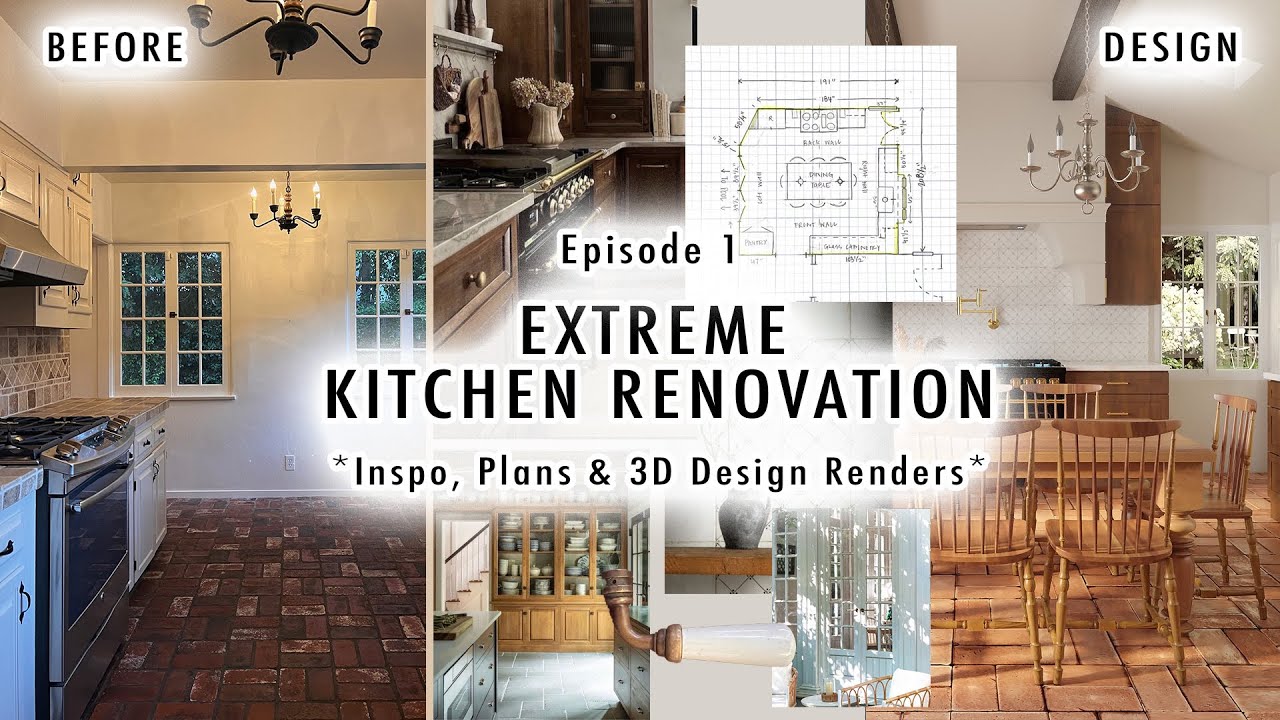
EXTREME KITCHEN RENOVATION EP 1 | Inspiration, Plans & 3D Design Renders
Light At The End Of The Tunnel!

EXTREME KITCHEN RENOVATION EP 3 | Appliances, Electrical, Plumbing, Insulation & Drywall
RUNNING OUT OF TIME | This Needs To Change Now
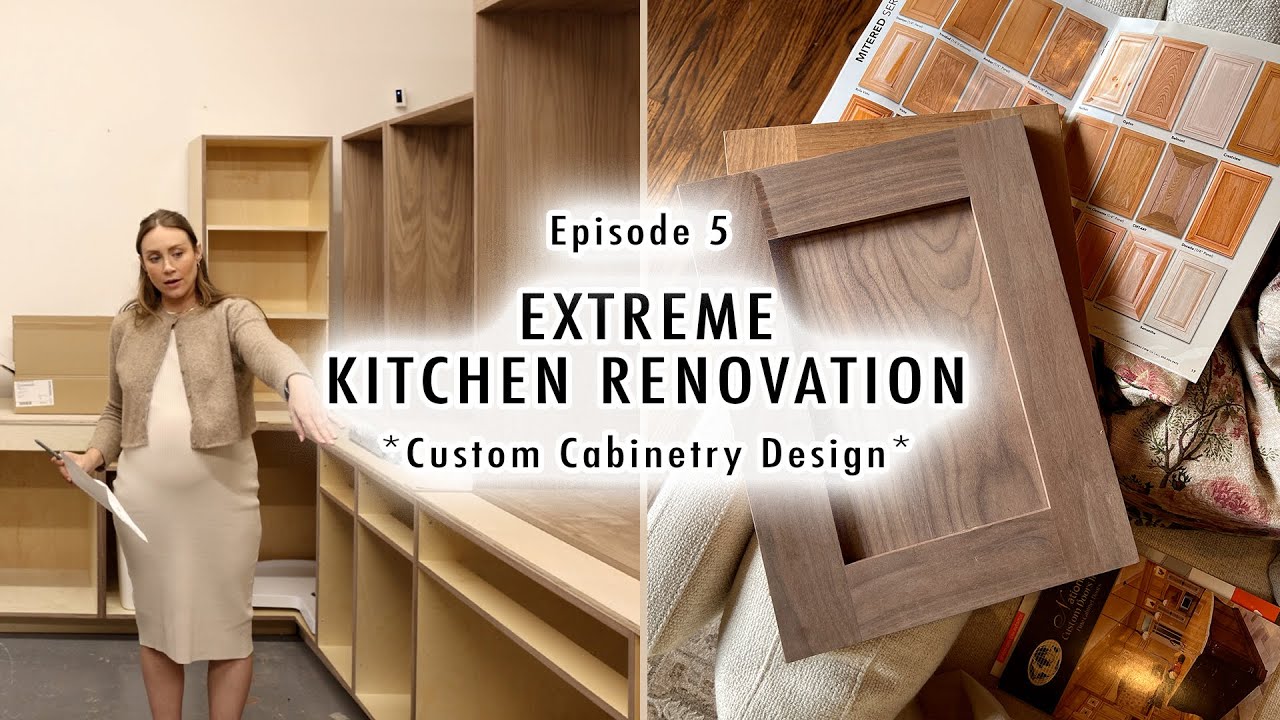
EXTREME KITCHEN RENOVATION EP 5 | Designing Our Custom Cabinetry