EXTREME KITCHEN RENOVATION EP 4 | Custom French Doors & Restoring 90-Year-Old Windows
Summary
TLDRThe video script details a homeowner's journey through a kitchen renovation, now a month and a half in progress. They are entering the 'pretty stage', where they design custom French doors for their pool area and restore 1930s windows that were previously painted shut. The renovation has seen significant structural changes, including the addition of skylights, plumbing, electrical work, insulation, and drywall. The homeowner expresses excitement about participating in a DIY project, specifically the restoration of the old windows to allow for natural ventilation. They also discuss the design considerations for the kitchen layout, keeping existing windows and doors where possible. The process of restoring the windows involves cutting through the paint, using a citrus-based stripping gel, and sanding down the wood to prepare for repainting. The homeowner also visits a mill shop to check on the progress of their custom cabinetry, eagerly anticipating the transformation of the space into a functional and aesthetically pleasing kitchen.
Takeaways
- 🏠 The kitchen renovation is entering the 'pretty stage' after a month and a half of work.
- 🚪 They are designing custom French doors to lead out to the pool area and restoring 1930s windows to make them functional again.
- 🛠️ Major structural and functional work has been completed, including plumbing, electrical, insulation, and drywall.
- 💡 The addition of skylights was a must-have to invite natural light into the space.
- 👶 The renovation is on a tight timeline before the arrival of a new baby.
- 🎨 The host is eager to participate in a DIY project, specifically restoring old windows that were previously painted shut.
- 🪟 The plan is to keep some existing windows and doors, while others are being replaced with new designs to fit the renovated space.
- 🔨 The process of restoring the windows involves cutting through paint, sanding, and repainting to achieve a clean finish.
- 🖼️ The new French doors are being custom-made to match the style of the house and to maximize light by having low panels and tall glass.
- 🛍️ The cost of replacing glass panes at Lowe's for the project was $20.
- ✨ The end goal is to have a cohesive look with the rest of the house, with an indoor-outdoor feel and a view of the pool from the kitchen.
Q & A
What stage of the kitchen renovation is the homeowner currently in?
-The homeowner is in the 'pretty stage' of the renovation, where they are designing custom French doors and restoring 1930s windows.
Why are the homeowners restoring the old windows?
-The homeowners are restoring the old windows to make them functional again, as they were previously painted shut, and to allow fresh air into the kitchen.
What is the purpose of adding skylights in the kitchen renovation?
-The purpose of adding skylights is to invite more natural light into the space, which was a significant requirement for the homeowner.
What custom feature is being designed to lead out to the pool area?
-The homeowners are designing custom French doors to lead out to the pool area.
How many windows were initially in the kitchen, and how many were kept open in the new design?
-Initially, there were two windows in the kitchen. In the new design, one window was closed up to make space for a cabinet, so only one window was kept open.
Why did the homeowner decide to close up one of the windows?
-The homeowner decided to close up one of the windows because that side of the house does not get any sunlight and is primarily used as a walk-through, so it wouldn't lose much by having the window closed.
What are the dimensions of the new French doors being installed?
-The new French doors are going to be 7 feet and 5 and a half inches tall.
What material is used for the new French doors to match the house?
-The lumber from a specific source is used for the new French doors to ensure they match the house.
What safety measure is the homeowner taking while working on the renovation?
-The homeowner is wearing a big respirator mask to avoid inhaling any potentially harmful substances during the renovation work.
What product is the homeowner using to strip the paint off the windows?
-The homeowner is using Citrus Strip stripping gel, which is safer to use indoors as it doesn't have harsh fumes.
What is the process for removing the old paint from the windows?
-The process involves applying the Citrus Strip stripping gel, covering it with plastic wrap to keep it active, and then scraping off the paint after a couple of hours.
How does the homeowner plan to deal with the cracked glass in the windows?
-The homeowner plans to replace the cracked glass panes with new ones, which can be cut to size at a store like Lowe's.
Outlines
🏡 Kitchen Renovation Progress and Custom French Doors
The video script details the ongoing kitchen renovation, now a month and a half in progress. The host is excited to have reached the 'pretty stage', where they are designing custom French doors to access the pool area and restoring the 1930s windows that were previously painted shut. The renovation has seen significant structural changes, including the addition of skylights, plumbing, electrical work, insulation, and drywall. The host expresses eagerness to participate in a DIY project, specifically the restoration of the old windows to allow for fresh air and improved functionality. The episode also involves discussions with a contractor about the design and functionality of the new doors.
🎨 Window Restoration and Designing New Doors
The host discusses the process of restoring the old windows and the design considerations for the new custom doors. They detail the decision-making process for which windows to keep and which to replace with the new French doors. The script includes a conversation with a contractor about the specifics of the door design, such as the number of panels and the height of the doors. The host also emphasizes the desire for maximum light and easy access to the outdoors, reflecting a focus on an open and bright kitchen space.
🔨 DIY Window Restoration Challenges and Solutions
The host describes the challenges faced while attempting to restore the old windows, including the difficulty of opening them due to previous paint jobs. They discuss the decision to use a specific tool to cut through the paint without damaging the windows and the protective measures taken during the restoration process. The script also reveals the discovery of nails that had sealed the windows shut, indicating the previous owners' intention to keep them closed. The host expresses satisfaction as they successfully open one of the restored windows.
🚪 Door and Window Aesthetics and Functionality
The host continues the discussion about the design and functionality of the doors and windows. They describe the process of choosing the right window design to match the existing house aesthetics and the decision to paint the restored windows white to match the rest of the house. The script details the steps taken to prepare the windows for painting, including stripping off the old paint and sanding the surfaces. The host also shares their excitement about the progress made on the doors and the anticipation of installing the glass.
🖼️ Aesthetic and Practical Restoration of Windows
The host talks about the aesthetic and practical aspects of the window restoration project. They discuss the process of removing paint from the windows using a citrus-based stripping gel, which is safer to use indoors. The script includes the host's excitement about the progress of the restoration and the decision to replace cracked glazing and scratched glass. The host also shares a mistake made while sanding the glass and the lesson learned about the importance of using proper materials and techniques for a perfect finish.
🛠️ Window Hardware Restoration and Glazing
The host describes the process of stripping and painting the window hardware in a metallic gold color to match the brass look they desire. They also discuss the steps taken to prepare the windows for painting, including the replacement of glass and glazing. The script details the use of white window glazing and the application of painter's tape to ensure clean, straight lines. The host expresses satisfaction with the smoothness of the wood and the overall progress of the window restoration, which is nearing completion.
🌟 Finalizing Window Restoration and Previewing the Cabinetry
The host provides a detailed summary of the window restoration process, emphasizing the attention to detail and the desire for perfection in the final appearance. They discuss the replacement of cracked glazing, the painting of hardware, and the preparation for painting the windows. The script also includes a preview of the upcoming steps in the renovation, which involve the installation of the cabinetry. The host expresses excitement about the transformation of the space and the emerging indoor-outdoor feel. They also encourage viewers to subscribe for updates on the renovation progress.
Mindmap
Keywords
💡Kitchen Renovation
💡Custom French Doors
💡1930s Windows
💡Skylights
💡Drywall
💡DIY Project
💡Cabinetry
💡Window Restoration
💡Insulation
💡Plumbing and Electrical
💡Glazing
Highlights
Kitchen renovation is entering the 'pretty stage' after a month and a half.
Designing custom French doors to lead out to the pool area.
Restoring 1930s windows to make them functional after being painted shut for decades.
Progress includes adding skylights, plumbing, electrical work, insulation, and drywall.
Incorporating existing windows and doors into the new kitchen design.
DIY project to restore old windows and allow for fresh air circulation.
Use of a specialized tool with teeth to cut through paint without damaging windows.
Safety measures taken during renovation, such as wearing a respirator mask.
Citrus strip stripping gel used for paint removal without harsh fumes.
Stripping and sanding process revealed the original window design, allowing for restoration.
Custom French doors designed with seven panels and a specific height to match the house.
Glass for the new doors is being custom made to fit the design.
Restoration of hardware and painting it with a metallic gold for a cohesive look.
Use of window glazing to ensure a tight seal and clean finish.
Primer applied to doors for protection during the painting stage.
The indoor-outdoor feeling starts to come to life with the progress on windows and doors.
Curtains are planned to be hung on the outside of the windows for a finished look.
Upcoming focus on installing cabinetry to complete the kitchen renovation.
Transcripts
a month and a half into our kitchen
renovation and we are already entering
what I like to call the pretty stage
this week we are designing our custom
French doors to lead out to our pool
area and restoring our 1930s windows so
after Decades of being painted shut they
finally
[Music]
open hello guys welcome back to our
kitchen renovation episode 4 for now so
you guys have seen in episode one we did
all of the design work I worked through
the must haves that we wanted for it the
renovation if we were going to tackle it
and then we started the demo and
structural phases the guys in my
contractor have been amazing they are
working incredibly fast on a very tight
timeline before this baby comes so they
have made huge progress we added the
skylights which was a huge musthave that
I wanted for this space to really invite
all the natural light in tackled all of
the plumbing all the electrical they've
put the insulation in the walls in the
ceiling and done drywall we're getting
to the pretty phase officially so we've
had a little bit of downtime with the
guys and trades been coming in and out
working on projects here and there while
we wait for Cabinetry and custom items
so this week is going to be an exciting
week because I am finally going to be
doing a DIY I'm going to take it slow
and safe but I'm itching through this
process watching them use crowbars and
to me get to do all the fun stuff and I
have to take it easy has been hard it's
okay it's been super exciting to see
this process move so quickly but I
really want to dive into a DIY project
this week and that is restoring our old
windows our windows are older but when
we moved in they had painted the
majority of the Windows shut and and
that I haven't ever seen in a house that
you buy I've only seen that done in like
apartment buildings uh where they just
like you know paint over walls and
things every time a tenant moves out
I've rarely seen that in a house and it
has been something that's bothered me
throughout the house but specifically in
the kitchen where I'd love to open these
windows and let some fresh air in or if
you're cooking in here and you know
maybe it's like gotten a little bit
Smoky you know you can open your windows
so we've always resorted to opening the
doors instead when we've been cooking a
lot so when I was designing the new
kitchen floor plan and layout I really
took into consideration where our
existing windows and doors were to
figure out how I could incorporate them
into the design which ones we could keep
and which ones kind of had to go so in
the design I was able to keep one of the
windows that were in our kitchen there
were two one here one here we had to
close one up cuz you got to put your
your cabinet somewhere uh so I opted to
close this one because this side of the
house doesn't get any sunlight it has
nothing happening for it it's basically
just a walk through to the side of our
house so it wasn't going to lose too
much so I opted to get rid of this one
we kept the door going out to the patio
in the front um so that was perfect I
mean we needed a a door here anyways and
also we kept the Box windows over the
sink used to have a door here going out
to the pool so we were we closed that up
so that we could introduce two double
French doors into the space where the
windows
were hi Hi how are you I'm good how are
you okay nice to meet you nice to meet
you so that's the idea so not the lights
on the side but double of these and then
you want the panel on the bottom yes
instead of having the four looking like
a four line I would just want to match
like this just so that it looks good
with the house just the two okay the
same kind of panel but not this tall you
know I want them real low to the ground
I want as many windows as possible as
many lights as possible that's the open
you have you're going to have seven 7
and A2 opening yeah I need 80 almost 80
yeah I want skinny French doors well so
the two will open in this way two will
open in that way so four doors toward so
so no side light four panels okay so you
want two units then four two units four
panels you can do your own your own
structure mightly Above This yep I love
it flash so indoor outdoor yes so you
have a small little transition but not
cuz if you see it on top of here then
you're going to have then it'll be we
like the idea we like the idea this is
your finished War you're not adding yeah
so I think you should just come down
here yes and maybe you can just add
another when you do your your your pan
and your
weather poofing it'll bring it up about
an 84 80 your doors are going to be 7 5
and A4 so 5 and half so kind of the same
yeah yeah so it'll look it'll look good
yeah so you you have 78 in St just like
this one over here yes so I'm thinking
we're probably going to go with this one
I love that window that's what I was
going to tell you like I love that and
then go with the 4 in
here and then yeah basically this is the
the same height 24 in down I'll do the P
the my rail and my panel and from there
up it'll be glass so it'll kind of mimic
that window almost that would be
beautiful and you can do that same kind
of profile yeah yeah we can which door
do you want to open you want these this
one and this one to open or you want
this one and this one or you want this
one and this one first you
mean the right one on both of
them the right one and the left one so
you want the far
okay what what is what is the real I
mean what is the St they're
custom I mean cuz this if you open this
one it's going to open into this one if
you open the sides yeah so these exactly
so I can open the sides and keep the
centers Clos correct yeah
[Music]
M so I figured since we're doing the
renovation we can go ahead and restore
the
windows to open they will be painted
white still because they will match the
rest of the house but we can polish them
up make them look better get them
functional polish up all the
hardware and the hinges does this one
even have hinges on it these definitely
have hinges on them so these definitely
open at one point there's three Windows
here but just the two outside ones open
so the first step is to stick them so
I've got to cut through the paint once
we get them out I think the restoration
process is going to go fairly simple
since we are just painting them I just
want to make them look really good and I
did restore 42 windows in the cottage
already so I've had a little bit of
practice restoring old windows and I
think that these are going to be on the
easier side so let's get started my
first thought was to either use just
like a box cutter like an xacto Like a
Knife you know to cut through the paint
but I also have this one has like little
teeth on it like that and it's super
flat this thing comes in so handy and
I'm thinking that this is going to save
my arms a lot I don't want to damage the
the windows that's what I don't want to
do I feel like it'll
work okay now that it that's going to
work I'm going to be overly protected
because of the baby I'm going to put on
a big mask just so that I don't breathe
in anything I got one of these big
respirator masks because feel like it's
better it's going to protect me
[Music]
all are you enjoying doing that cuz you
haven't done that in a while cuz he
knows he knows it's like my
[Music]
[Applause]
[Music]
therapy I got it all cut but it's just
budging just a little bit it's not
really giving into opening I I want to
be careful you know so I'm not trying to
like do anything crazy
[Music]
oh she's
open much better ooh we got a lot a lot
of work to do I think this kitchen used
to be yellow or like a beigy yellow like
the Cabinetry was ooh I don't like that
they nailed her shut they had every
intention on painting it and closing it
up I see a nail how sad
that's sad okay so Romeo and I were just
talking about it these over the sink
I've always wanted to open that's so
nice like to have a breeze there started
talking about these windows they don't
have any hinges which I didn't know
before so they don't naturally open
already I'm wondering if we go ahead and
convert them to have hinges and open and
stuff I feel like there's there's going
to be some pieces May missing like I'll
have to put a piece so that they close
together you know and they and they lock
really well or we were talking about it
cuz is it weird that you also have a
door
here and that would open is that weird
work on these first and then
determine that one after
[Music]
[Music]
[Music]
I'm going to be using this Citrus strip
stripping gel to remove the paint from
the windows I've had a lot of good
success with this one and this
particular stripper doesn't have any
harsh fumes so it's safer to use
especially if you're doing projects
indoors and I'm just going to use a
brush to paint all the stripper on and
then over the top of the stripper I'm
going to put some PL itic wrap so it
stays active as long as possible so it
really gets through multiple layers of
paint
[Music]
[Music]
[Music]
[Music]
so the stripper's been on here for a
couple of hours now and I've already
tested a little patch to see if it was
kind of coming out up and it it is I'm
going to use a scraper and maybe
possibly a wire brush if I need it like
in the corners and things uh to get off
all this paint we're just going to start
new we're just going to start new with
new paint all the way down to the wood
so that we can really just like have a
really clean clean finished look
[Music]
[Music]
[Music]
[Music]
[Music]
I'm excited to see the progress on the
doors they're coming along we're still
waiting on the glass but at least we'll
get to see what the shape is going to be
like
so right
now are those it I don't know if that's
it I'm dead I'm
dead it's gorgeous I told um we're just
waiting on the glass at this point the
glass yeah how long do you know how long
it'll take maybe if not today tomorrow
so I can probably deliver it Friday if
not Monday the latest wow I know you
guys need fast right it's he did it gor
you built this
gorgeous they look nice actually they
look beautiful I mean it looks just like
that window that we kind of took the
inspiration from
yeah gorgeous so this is what it's going
to look like from the inside cuz they're
going to open yeah I'm standing on the
outside of you're on the inside so when
you walk out to the pool like this is
what it's going to
be literally stunning and that's what we
make it out of that lumber over there
how how we get it and then we it up
yeah that is
incredible oh that looks
awesome
[Music]
wow it's
incredible is it not it's nice
[Music]
the next day after stripping this off so
it's dry now it's not like gooey anymore
I know that you can use like mineral
spirits you know like something like
that to like get the rest of the goo off
but I didn't want to use that so I just
let it dry now this is what it's gotten
this to which has gotten the majority of
the paint off which now we can sand and
it's not a lot of work you know now
we're just like perfecting it not bad
the windows were definitely easier than
the actual box because I feel like that
has been painted so many times that
there was just layers and layers and
layers but it was so cracked all the way
down to the wooden places that I had to
get it all off you know like you you
sometimes just have to start over with a
new slate you know otherwise it would be
uneven and not perfect we're on the
right track so I'm going to sand it down
stepping up from 60 grit so I'm going to
start with 60 and then I'm going to go
up to probably like 100 120 and then up
to something finer like a 220 and it
gives us a really nice smooth surface
without having any of the circles left
over in the sanding if you've ever done
that
[Music]
oh oh my gosh you guys I'm surprised
this thing isn't like permanently
attached to my face at this
point I have worn this whether things
are stinky or not it really didn't
matter when I set out to restore just
this box window it's essentially three
windows and I was like oh this is going
to be a breeze oh my gosh days days it's
been this is day five of working on this
project like pretty much in the
afternoons started as just kind of I
thought a simple restoration project
turned into replacing
glass I have holes in here learn from
our mistakes now twice because you
really do not want to get close to glass
glass with
sandpaper now I say that and it's like
an obvious thing but you really don't
because it scratches the glass and it
looks bad so there were a couple of
panes in two of the windows that just
had scratched glass and I just it just
wasn't perfect at Lowe's you can get
them to cut e in glass or the plastic
sheeting stuff if you need like that for
any reason you can get them to cut the
e/ in glass exactly to size and so all
the pains that I needed cost me
$20 it's not a hard fix it's just timec
consuming and we have as we were
restoring these windows we had the
glazing was cracking all the glazing has
to be replaced literally I took these
windows down to
the wood there's some paint still kind
of left into the profile of the wood on
the front and that's just because it's I
didn't want to damage the profile this
is very smooth this is paint righted
instead of going back in with another
layer of stripper which I would have
done if we were taking the paint off and
like staining these which the wood is so
pretty it's like man should I it's
almost it's almost hurting my heart to
paint it but it won't match any of the
other windows in the house
and there's going to be so much wood
detailing like stained wood in the
kitchen already that these really need
to stay the way that they were the goal
since we were just painting it anyways
was to get it really smooth Smo and get
it down as much as we could and remove
any chipped paint things like that so
this is like very very smooth and I've
been replacing the glass and we're going
to replace the glazing and then they're
going to be ready to be painted I also
stripped all of the hardware and in
painting it with this metallic gold pure
gold color that I got uh it's the
closest that I can get to Brass you know
to a really good color that I actually
like that's not like super gold and
bright
[Music]
and I have been using all of the
previous push points for these windows
too I was able to get them all out
[Music]
to create a really tight seal and a
clean finish on the outside of the
windows we're going to be using window
glazing this is white in color so you
don't have to paint it if your windows
are white but we are going to be
painting these windows anyway so we're
going to wait the 3 days and the guys
will paint all the windows so you just
want to start with a clean slate and I
always like my glazing or cocking or any
project that I do to have really clean
straight lines so I always use some
painters tape as well and I'm going to
put the painters tape exactly where I
want the glazing to stop
[Music]
[Applause]
[Music]
Happ
[Music]
there you go
[Music]
how beautiful are these stores they're
exactly what I wanted in terms of like
the elongated lights that's another name
that's what they call like the glass
panes um these are all called lights and
I wanted them to be elongated like that
one window all of the windows in our
house are a little bit different to
accommodate the space that they're in
but that one was like the prettiest to
me so when we were designing it I wanted
it to be that 13 in tall so tall and
skinny and then we put the panel on the
bottom so that it matched the rest of
the doors in the house and you know made
the house feel really cohesive they've
already started to Prime the doors too
just to protect them while we're getting
to the painting stage and now the view
of the pool from the kitchen that indoor
outdoor feeling that I really wanted for
this space is coming to life I could I
could not be happier it's truly stunning
I have a little bit more perfecting work
to do on these windows but we've made
major progress they open they're glazed
they have new glass you know me I'm just
like a perfectionist when it comes to
those details and I just think that I
can spend a little more time on them to
make them like that much better but I
got all the hardware painted it's ready
to go on after they're painted I'm not
sure if they're going to bring in the
cabinet tree first and then paint or
paint and then bring in the cabinet tree
I don't know their method I don't know
how they're going to do it but either
way we're making some major progress
this makes me very happy so now when we
put our curtains back we'll just have
curtains on the outside ones the little
cafe curtains so I can perfect those and
and cut them to size cuz I already made
the curtains for the space I hope you
guys enjoyed this episode of renovating
our kitchen if you've missed any of the
episodes I'll leave them all linked for
you there's a whole series so you can
catch up on everything that we've done
so far next up we're diving into all the
Cabinetry so you're going to start to
see that come to life and they're going
to bring in the Cabinetry soon I feel
like and this space is really going to
start to feel like a kitchen instead of
just an empty room and don't forget to
subscribe if you're not already
subscribed to my channel just hit the
Subscribe button and the little bell
notification so you know when I upload
new videos I'll see you guys in two
Sundays bye guys coming up next in our
kitchen renovation I asked for select so
it's very uniform yeah yeah it's not
meshy meshy you know like you know I was
trying to be different over here so
we're at the Mill shop to see the
progress on the Cabinetry I'm so
[Music]
excited you
know she knows
[Music]
4.8 / 5 (34 votes)
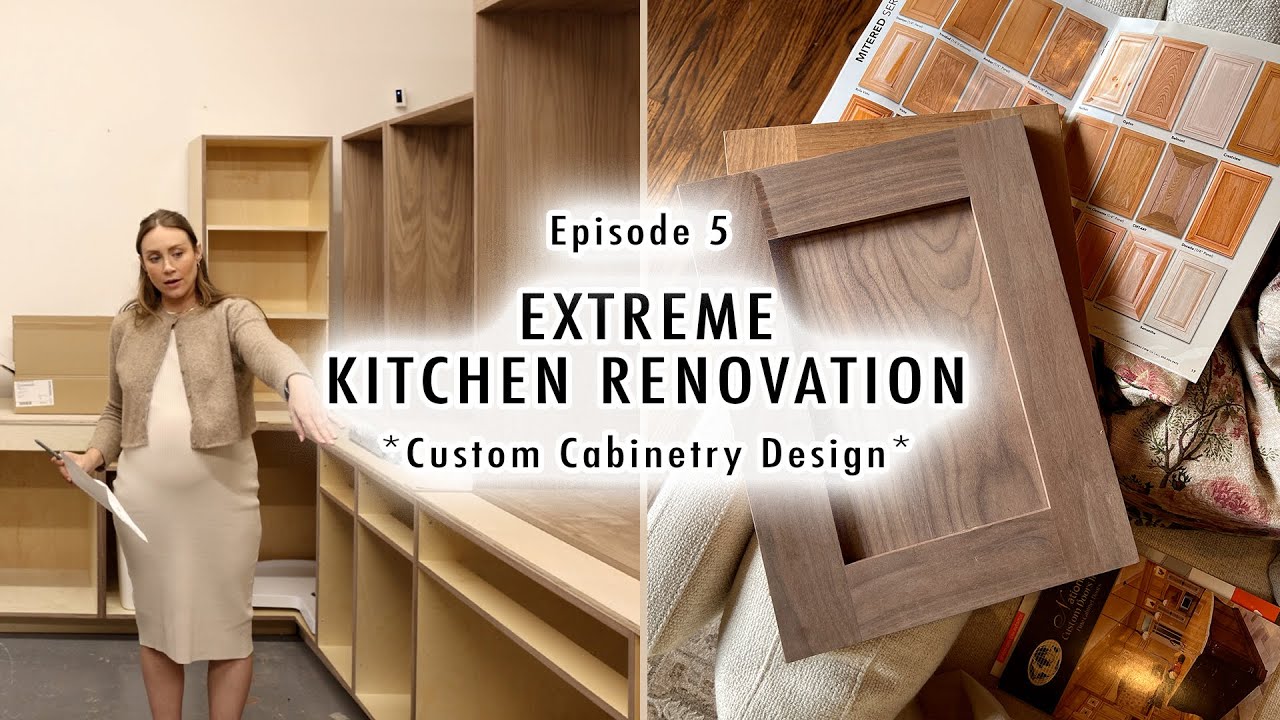
EXTREME KITCHEN RENOVATION EP 5 | Designing Our Custom Cabinetry
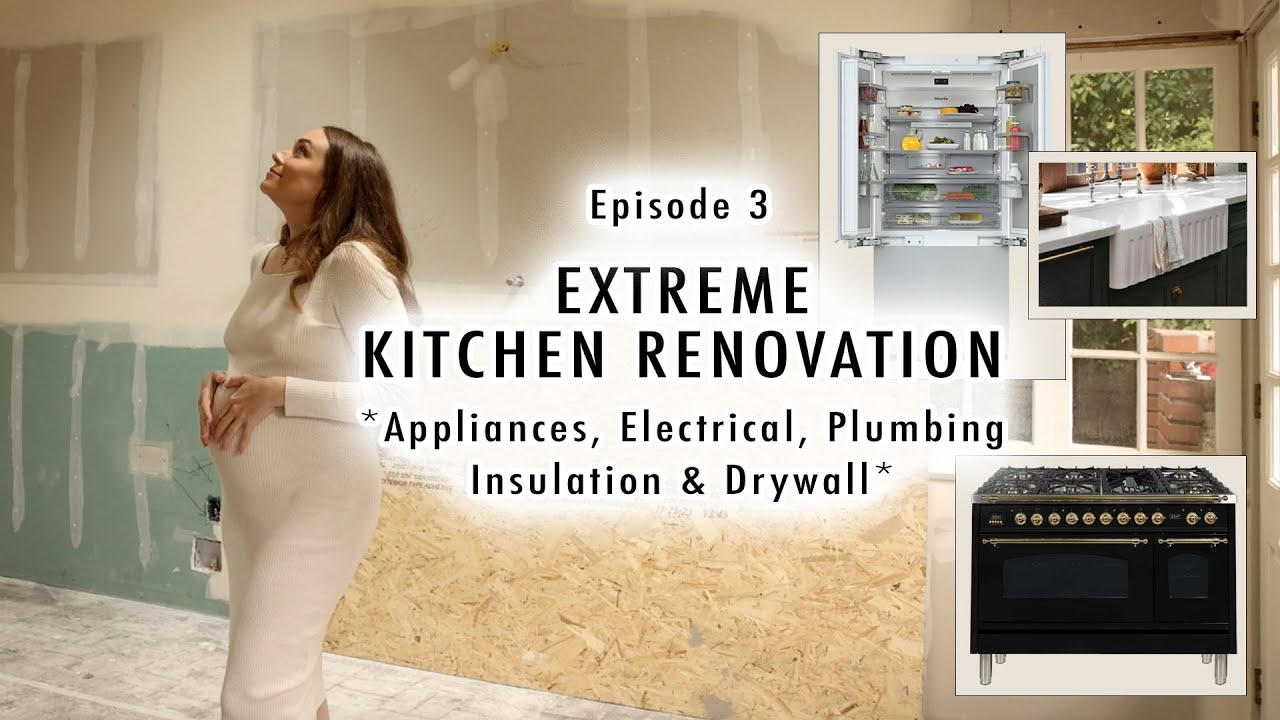
EXTREME KITCHEN RENOVATION EP 3 | Appliances, Electrical, Plumbing, Insulation & Drywall
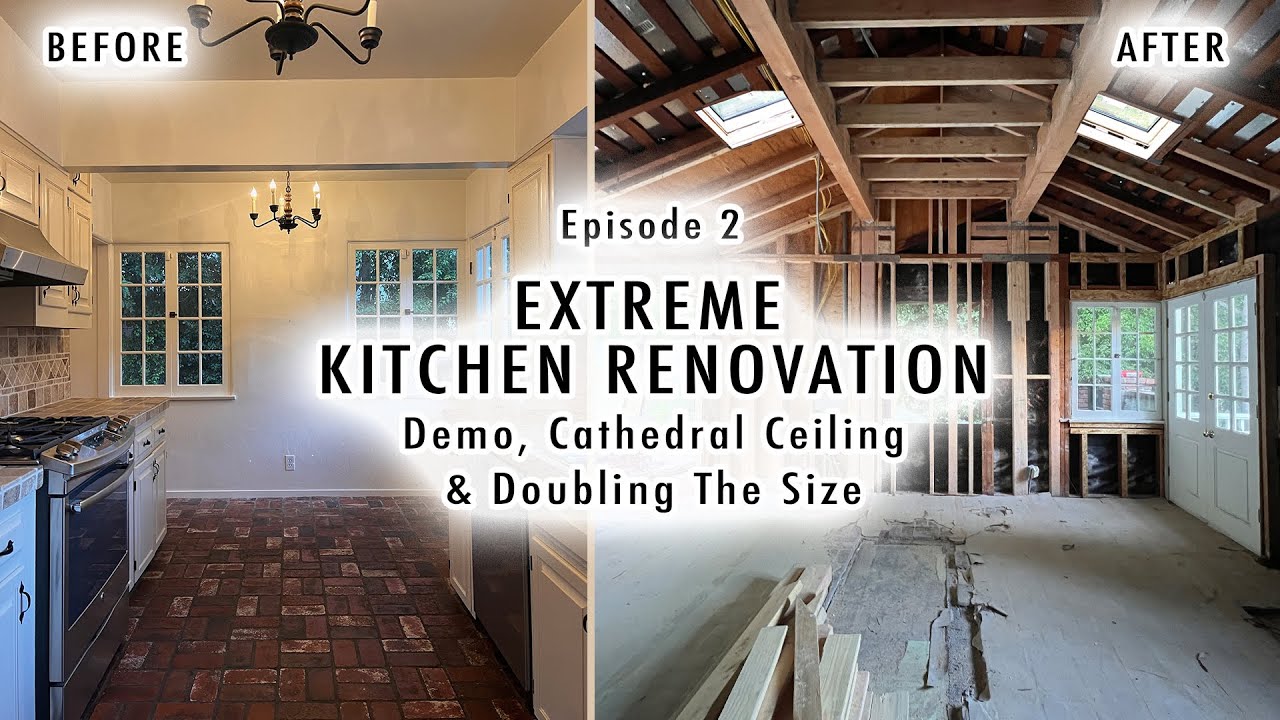
EXTREME KITCHEN RENOVATION EP2 | Demo, Cathedral Ceiling & Doubling The Size
RUNNING OUT OF TIME | This Needs To Change Now
NURSERY MAKEOVER (Part 3) *DIY Shade Valance, Vintage Changing Table & New Decor*
Light At The End Of The Tunnel!